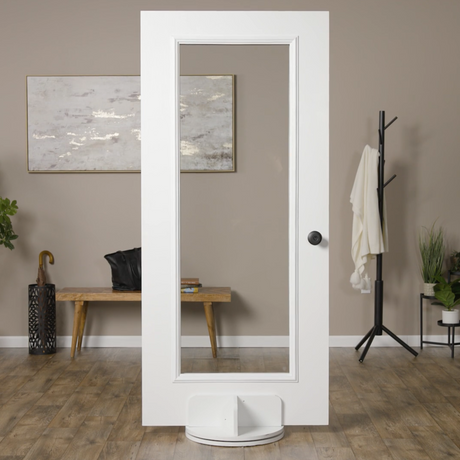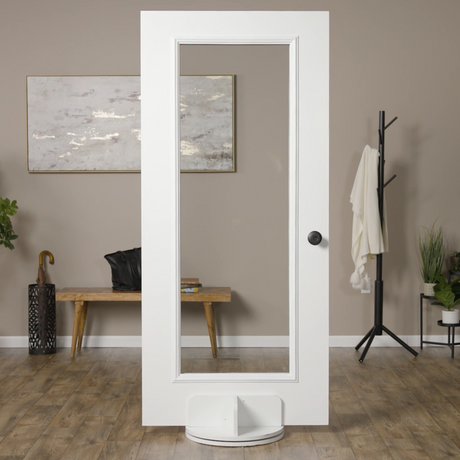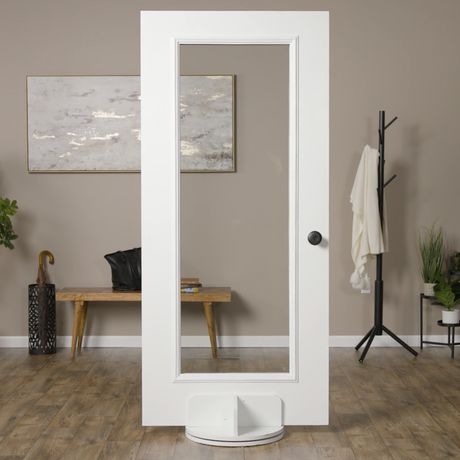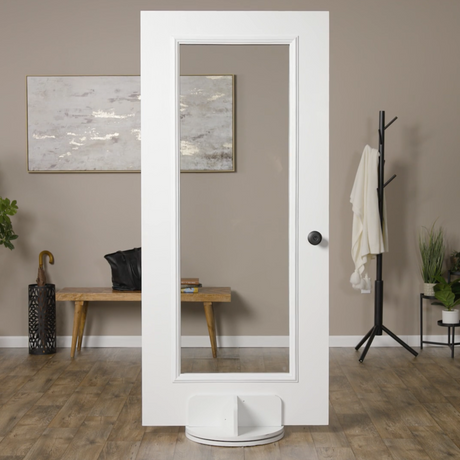
The number one way to boost your curb appeal is to paint your front door a new color or to give your existing color a fresh coat of paint. That all sounds good on paper but how can you make sure that your DIY paint job looks professional? You don’t want to spend all that time and energy re-painting your front door only to find that it looks more like a finger-painting than a finished front door. Follow this front door painting advice and you’ll feel confident enough to tackle this task all on your own.
Front Door Painting Steps

- The first part of this project is to sand away the old paint using 220 grit sandpaper. Start with the grooves - if your door has any - and focus on sanding away any major imperfections. Be thorough but don’t spend the whole day sanding.
- Now gently sand the flat surfaces, guiding your path by feel rather than by sight. If the surface feels smooth, no matter what it looks like, then you’re good to move on.
- Next, you’ll want to completely wipe down the surface so that there’s no sanding dust left on the door.
- After that, you’ll tape up any part of the door you don’t want to paint using standard painter’s tape.
- Tape the outside edge of the other side of the door, too, since you’ll want to paint the inside edge of the door.
- Now it’s time to apply paint. Save time by using a paint with a primer built in.
- You’ll start by painting the grooves using a hand brush. Focus on these difficult parts first.
- Then use a small roller to paint all the flat portions of the door. It’s important to paint along a similar path the entire time as if the door itself has a “wood grain”. Painting erratically can lead to an uneven paint job.
- Once you’re happy with the coat of paint you’ll want to sand it down again before painting the final layer.
To get the full step-by-step tutorial you’ll want to click on the link below. Read the full article here:
http://www.homedit.com/paint-an-exterior-door/
 The number one way to boost your curb appeal is to paint your front door a new color or to give your existing color a fresh coat of paint. That all sounds good on paper but how can you make sure that your DIY paint job looks professional? You don’t want to spend all that time and energy re-painting your front door only to find that it looks more like a finger-painting than a finished front door. Follow this front door painting advice and you’ll feel confident enough to tackle this task all on your own.


